How to build a desktop Tauri app and Rust Part 1
May 12, 2023
Electron has long been a game changer in desktop application development since it permitted us to build desktop applications in Nodejs and our favourite javascript framework. Still, it’s long rein as the top javascript framework is at stack. Tauri is a new cross-platform that permits developers to build high-performance desktop applications using Rust and javascript. This article will be in 2 parts part one will see how we can install the Tauri app and create a basic application, and in part two, we will continue development by creating an image compression app.
Setting up Rust and Tauri apps.
In this section, we will install Rust and Tauri on our local machine before integrating Reactjs, I Am using a Windows PC, but you can follow the official guide on how it can be done on Mac or Linux.
Ps: I will update this article to show how it’s done on Windows and Mac later
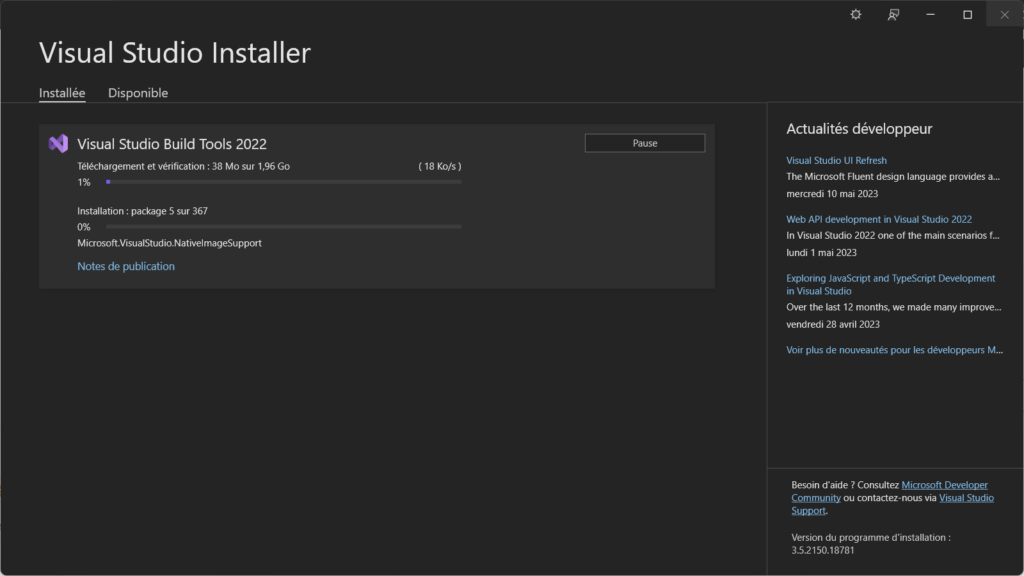
1. Instaling Visual Studio C++ Build Tools
Before starting our development, we must set up a visual studio and its build tool. This will enable us to develop and build our Tauri applications. For that, head to this link and download vs build tool setup. After downloading the setup install, you will have to select the following option below

Then you must download the packages and wait for the installer to complete.
2. Installing WebView2
Webview2 is an important component Tauri uses to render web content on Windows, but the good news is that if you’re using Windows 11 or Windows 10 (Version 1803 and later with all updates applied), you won’t have to download it. But else, head over here to download and install it on your local machine.
3. Installing Rust
Now that webview2 and Vs studio build tool have been installed, now will have to install Rust on our local machine to achieve that on Windows. We will install Rust. Head to the Rust website https://www.rust-lang.org/tools/install and download the Rust setup. After that, you must select the default toolchain with this command.
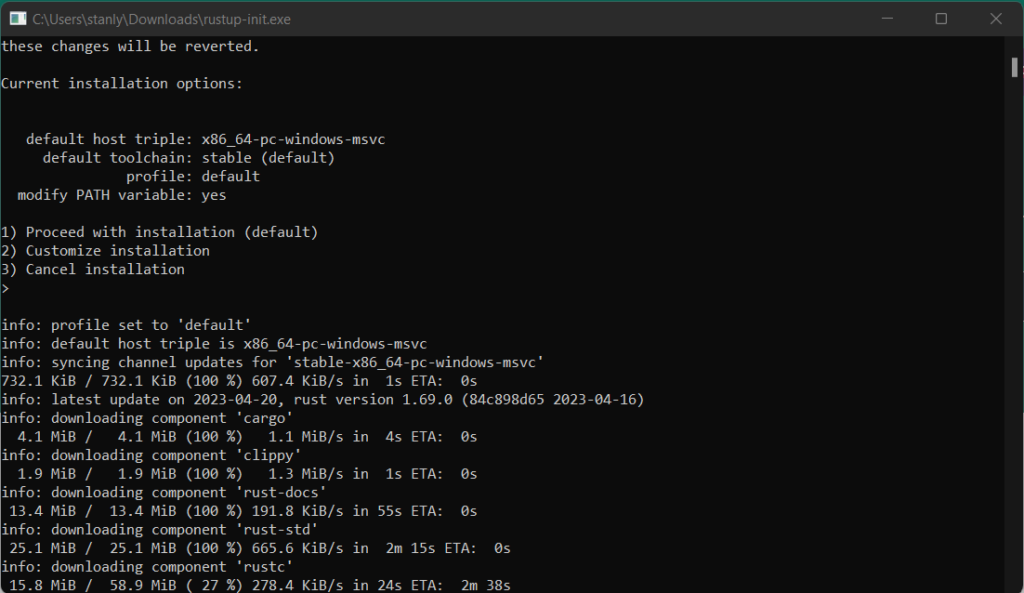
rustup default stable-msvcCreating a basic Tauri app
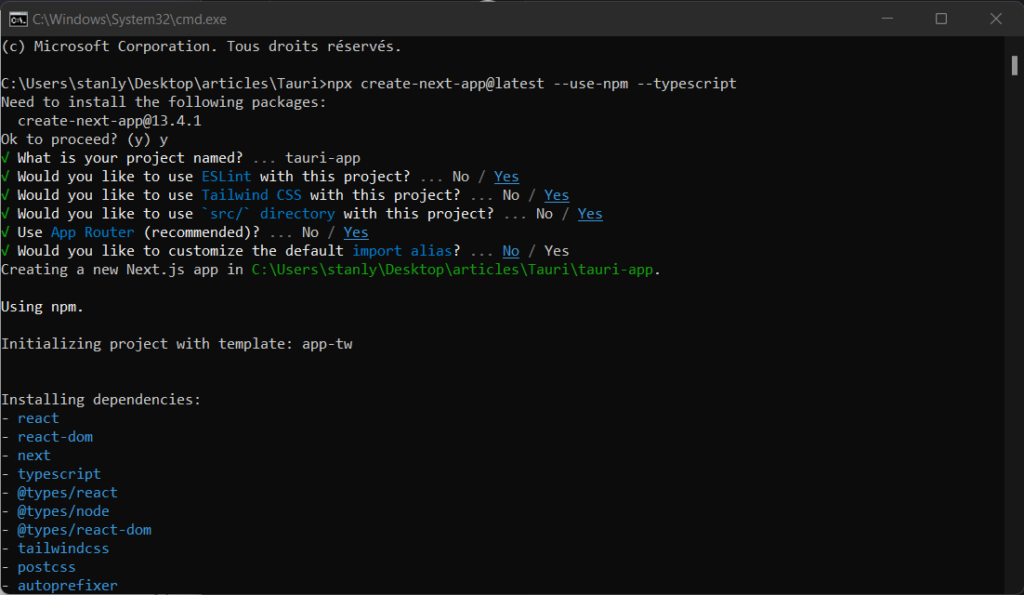
Now that the basic dependencies have been installed, we will create our Tauri app using Nextjs, but you can also use other frameworks such as Vite, SvelteKit, Qwik and HTML, CSS and JS. That said, let’s get started by running the project.
npx create-next-app@latest --use-npm --typescriptYou will be prompted to enter the project name and other settings; here is what my settings look like.
After that, we will need to update our package.json to be able to build the project, so head up to package.json and modify the script part as follow.
 "scripts": {
     "dev": "next dev",
    "build": "next build",
    "export": "next export",
    "start": "next start",
    "tauri": "tauri",
    "lint": "next lint"
  },
We also need to change the nex.config.js as follows.
/** @type {import('next').NextConfig} */

const nextConfig = {
  reactStrictMode: true,
  // Note: This feature is required to use NextJS Image in SSG mode.
  // See https://nextjs.org/docs/messages/export-image-api for different workarounds.
  images: {
    unoptimized: true,
  },
}

module.exports = nextConfig
Configuring Tauri
Now that we have configured Nextjs we need to add Tauri to the mix. for that, add Tauri to your project by running the script
npm install --save-dev @tauri-apps/cliThen we will continue with the following command that will help set up rust and cargo dependencies
npm run tauri inityou will be prompted with a few questions, something similar to this

After that is done, modify the tauri.config.json build section to look like this.
"build": {
"beforeBuildCommand": "npm run build && npm run export",
"beforeDevCommand": "npm run dev",
"devPath": "http://localhost:3000",
"distDir": "../out"
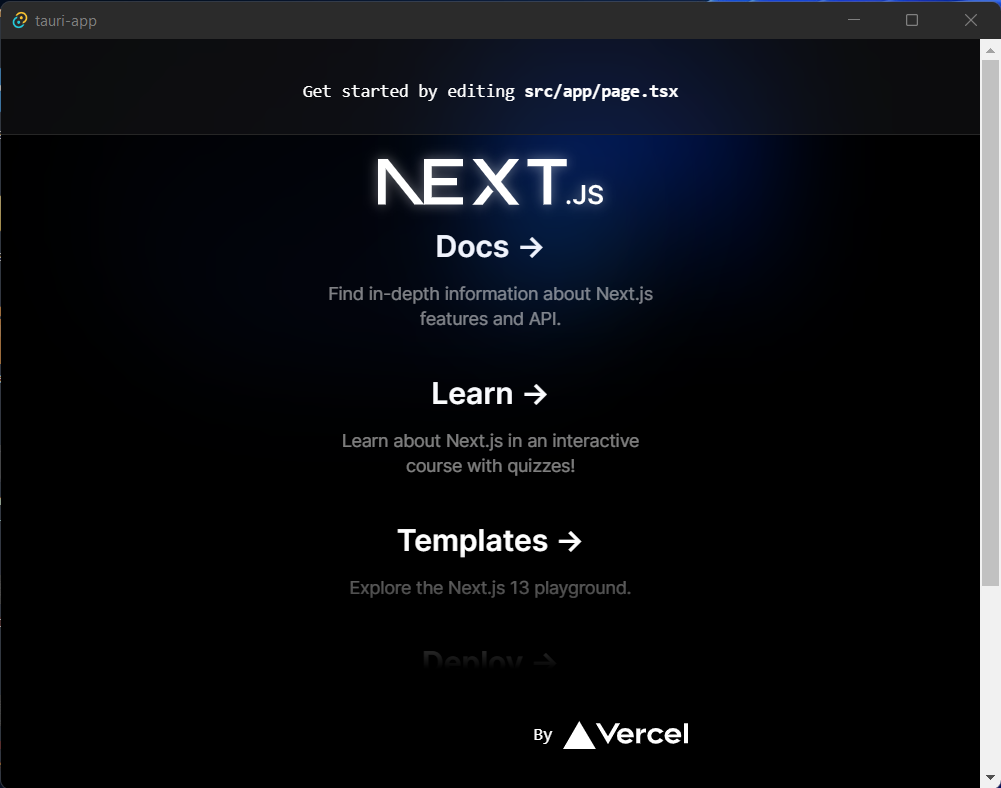
},The command breforeBuildCommand will be run before the application runs, while the breforeDevCommand will run before the dev command. Now that everything is okay run the following command to run the application.
npm run tauri devAfter running the command, you should see the Tauri-Nextjs default interface as mine.
Conclusion
In this article, we saw how to create a Tauri app, from the installation to the basic setup with Nextjs. We also saw how to configure Nextjs and Tauri apps to work smoothly. I have posted the code of the article here. For more questions, you can leave it in the comment section, I will be posting the link to the part 2 as soon as it’s out.
lewatt23
Stanly is a web and mobile developer passionate about creating engaging and user-friendly digital experiences. he has 4+ years building web and mobile applications.
Related Posts
You may also like